It all started with a dream. Before we even stepped inside our new home, I was already creating mood boards for each room. I had a clear vision for every space and a plan to make those visions a reality. However, as we anxiously waited for the keys, I stumbled upon a show that completely shifted my interior design perspective – Emily in Paris. The charming Parisian aesthetic captured my heart, and my mood boards transformed overnight. Gone was the bohemian, plant-filled haven I had envisioned. In its place blossomed a chic, white room with elegant chevron floors, luxurious velvets, and the pièce de résistance – wall paneling.
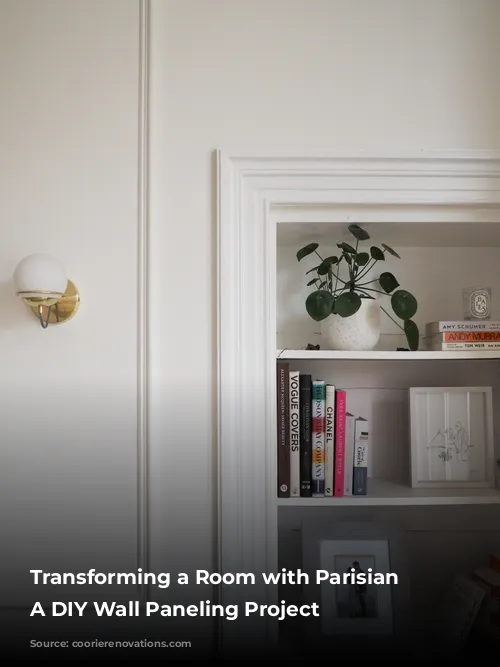
A Parisian Touch for a Classic Room
Our living room already boasted beautiful features like a ceiling rose, intricate cornice, and a large bay window. It was the perfect backdrop for a Parisian makeover. The key element? Chunky wall panels. We were ready to bring that Parisian charm to life, but we needed a plan.
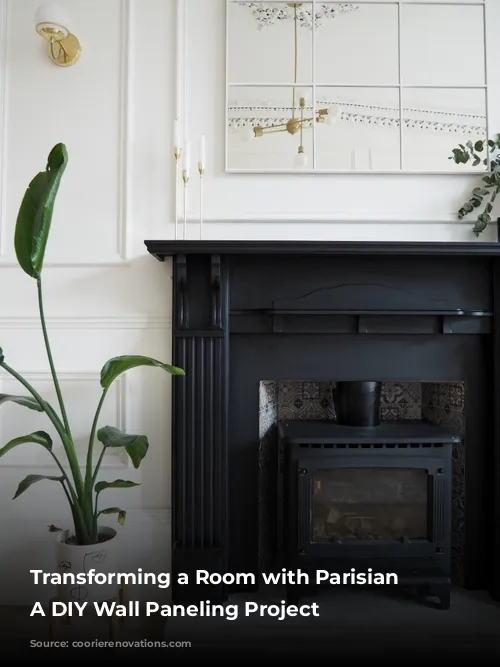
Planning the Parisian Paneling
First things first, we needed to measure and plan the layout. I snapped pictures of each wall and doodled on them to see what looked best. Once I had a rough design, I used bright tape to mark the walls, ensuring everything fit perfectly and looked balanced. To guarantee straight lines, I employed a laser level. Trust me, it’s a game-changer, especially when your floors are uneven! If you don’t have one, a long spirit level will work, but invest in a laser level – they’re inexpensive and worth every penny. After marking out the walls, I had a clear picture of how the panels would transform the room. There were a few changes along the way – we decided to leave the panels off the door frames. It looked a bit cluttered with different sizes, so we opted for a cleaner look.
Gathering the Materials
The next step was to calculate the amount of wood we needed. We were using 2400mm boards, so we needed to be strategic with our cuts to minimize waste. In the end, we used roughly 38 lengths of paneling wood and 6 lengths of dado. For a more substantial look, we chose to use dado rail for both parts of the paneling. For the main dado running around the room, we opted for pre-primed MDF dado from Wickes. For the panels themselves, we selected pine dado from B&Q. Ideally, I would have used MDF for everything, but I couldn’t find a style I liked. The pine required a bit of sanding and primer, but it was worth the extra effort for the look we wanted.
Installing the Parisian Panels
With all the materials ready, it was time for installation. I marked the lines with pencil, removed the masking tape, and then re-measured and cut all the pieces with our mitre saw. If you’re using a hand saw, be sure to smooth out any rough edges before attaching the panels to the wall. We used a generous amount of glue and secured the panels with panel pins where needed. This part was a two-person job, one to hold the corners and keep things level, and the other to ensure everything was straight using the spirit level.
Finishing Touches and the Grand Reveal
Once all the panels were in place, I used decorators caulk to fill any gaps between the wood and the wall and to smooth out the corners. After letting the caulk dry for a day, it was time for the exciting part – priming! The panels started to blend into the wall, and I could finally visualize the finished look. Two coats of primer and then two coats of wall paint – voila!
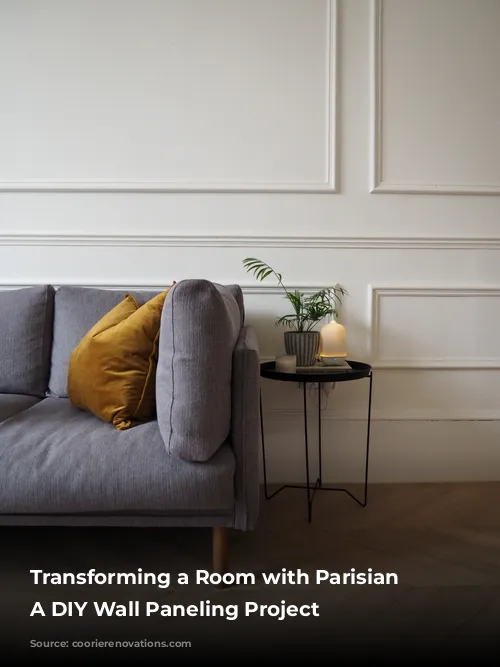
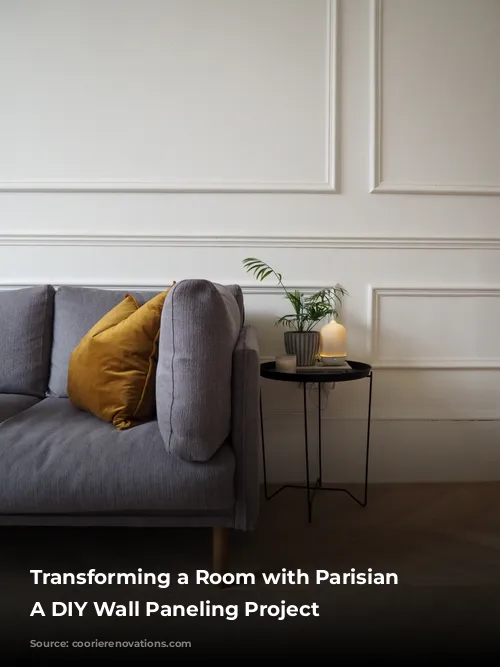
A Parisian Dream Realized
The finished paneling is absolutely stunning. It adds a touch of drama and elegance to the room while keeping it bright and inviting. Now I’m on the hunt for other rooms to transform with this Parisian-inspired paneling. It’s contagious!
